
Introduction to Minecraft Server Setup
Setting up your own Minecraft Server on Ubuntu can open up opportunities for you and your friends to enjoy a private gaming experience. Even if you are new to Linux, this guide indicates all the steps you need to take to set up your system. If you host the server, you choose who plays and decide on the rules of the game. We are going to look at how to set up your Minecraft Server using Ubuntu.
System Requirements
For a smooth Minecraft Server experience on Ubuntu, your system must meet specific hardware and software requirements.
– A minimum of 1 GB RAM dedicated to the server, though 2 GB is recommended for better performance.
– A multi-core processor.
– At least 1 GB of disk space.
– A stable internet connection.
Consider using a dedicated machine with 4 GB of RAM or more, a quad-core CPU, and SSD storage for optimal performance. This setup will better handle multiple players and more complex game worlds.
– Ensure your Ubuntu version is updated.
– Java Runtime Environment (JRE) must be installed, as Minecraft Server relies on Java.
Meeting these requirements will help you avoid performance issues and provide a better gaming experience for all players.

Installation of Java
To get your Minecraft Server running, you’ll need to install Java on your Ubuntu system. Begin by updating your package index. Open your terminal and enter the command `sudo apt update`. Once the update is complete, proceed to install Java. Execute the command `sudo apt install openjdk-17-jre-headless` to install the required version of Java.
After the installation process finishes, confirm that Java has been installed correctly. You can do this by checking the Java version—type `java -version` into your terminal. If the installation was successful, you will see a message displaying the installed Java version.
Having Java installed and correctly configured is a crucial step. It ensures that your Minecraft Server has the necessary runtime environment to operate efficiently. Make sure to follow these steps accurately to avoid any issues later on.
Downloading Minecraft Server Files
To download the Minecraft Server files, you’ll first visit the official Minecraft website and obtain the download link for the server `.jar` file. Once you have the link, create a dedicated directory for your server files to keep them organized. Open your terminal and run the following command to create the directory: `mkdir ~/minecraft_server`. Navigate to this directory using: `cd ~/minecraft_server`.
Next, download the server file using the `wget` command, followed by the URL of the `.jar` file. For example: `wget https://launcher.mojang.com/v1/objects/yourserverfile.jar`. This command will download the server `.jar` file into your newly created directory.
Keeping server files in a specific directory helps you manage them more effectively. It also simplifies troubleshooting, as all the relevant files are located in one place. Once the download is complete, you can proceed to the configuration steps to tailor the server settings to your preferences.
Configuring the Minecraft Server
Access the server.properties file in your server directory to begin configuring your Minecraft Server. Use a text editor like Nano with the command `nano server.properties`. Within this file, you’ll find various settings that control how your server operates. Key settings include game mode, difficulty level, and maximum number of players. Adjust these parameters to match your desired gaming experience.
For instance, you can set the game mode to survival by changing the line `gamemode=0` to `gamemode=1`. Similarly, modify `difficulty=1` to set the difficulty level to easy, normal, or hard by changing the value to 0, 1, or 2, respectively. The `max-players` setting allows you to limit how many players can join your server at once; simply change the value to your preferred number.
After making adjustments, save the changes by pressing `CTRL + X`, then `Y`, and `Enter`. Additionally, it’s a good idea to review other settings like `level-seed`, `enable-command-block`, and `pvp` to tailor the gameplay further. The `level-seed` setting lets you specify a world seed, while `enable-command-block` allows using command blocks if set to true. The `pvp` setting can be toggled to turn player-versus-player combat on or off.
Configuration changes are effective once the server restarts, so stop and restart your server for the updates to take effect. Keeping a backup of your server.properties file before making significant changes can save time and prevent potential issues.
Running the Minecraft Server
Once you have configured your Minecraft Server, it’s time to run it. First, open your terminal and navigate to the directory where your server files are located: `cd ~/minecraft_server`. Next, start the server by executing the command `java -Xmx1024M -Xms1024M -jar yourserverfile.jar nogui`. This command allocates 1 GB of RAM to the server; you can adjust the values according to your system’s capabilities.
When you run the server for the first time, it will generate several configuration files and folders. Among these is the `eula.txt` file, which contains the End User License Agreement. Open this file with a text editor, such as Nano, by running `nano eula.txt`. Change the line `eula=false` to `eula=true` to agree to the terms and save your changes.
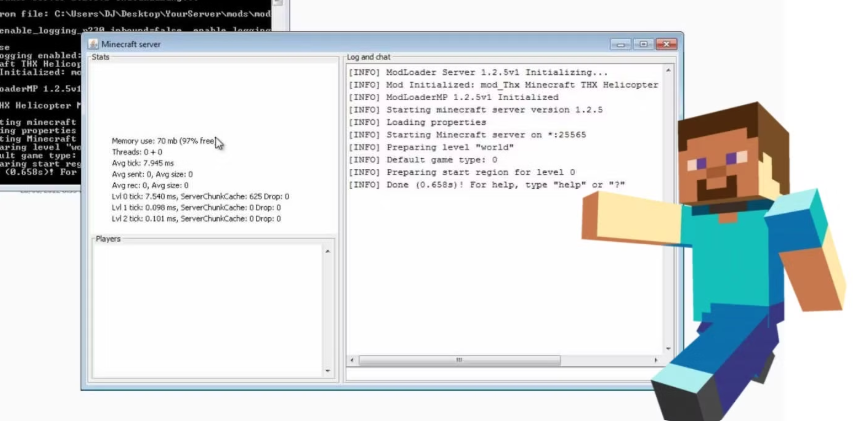
After agreeing to the EULA, rerun the server start command. The server will launch and begin generating the game world. You can monitor the server’s output directly in your terminal. To interact with the server console, type commands directly into the terminal window where the server is running.
To check if your server functions correctly, open your Minecraft client, select “Multiplayer,” and click “Add Server.” Enter your server’s IP address and click “Done.” If everything is set up correctly, your server will appear in the list, and you can join the game.
For ease of use, you might want to create a script to start the server automatically. Create a new file named `start.sh` in your server directory and add the following lines:
java -Xmx1024M -Xms1024M -jar yourserverfile.jar nogui
Make the script executable by running `chmod +x start.sh`. Now, you can start your server by running `./start.sh` from the terminal.
Ensure you regularly check the server logs for errors or essential information about your server’s performance.

Setting Up Port Forwarding
You must set up port forwarding on your router to allow external players to join your Minecraft Server. This process directs traffic from the internet to your server, enabling friends to connect using your external IP address.
First, access your router’s settings. Open a web browser and enter your router’s IP address into the address bar. This IP address is usually printed on the router or in the documentation. Once you reach the login page, enter the admin credentials. If you haven’t changed them, the default username and password can also be found in the router documentation.
Navigate to the port forwarding section. This may be listed under advanced settings, NAT, or gaming sections, depending on your router model. Here, you’ll need to create a new port forwarding rule. Set the external port and internal port to 25565, which is the default port for Minecraft. Enter your server’s internal IP address in the designated field. You can find this IP by running the command `hostname -I` in your Ubuntu terminal.
Save the changes, then restart your router to apply the new settings. It’s a good idea to double-check that the rule has been saved correctly.
To verify that port forwarding is set up correctly, use an online port checking tool. Enter your external IP address and the port number 25565 to see if the port is open. Additionally, ask a friend to attempt connecting to your server using your external IP address to ensure everything is working as expected. If they can join without issues, you’ve successfully set up port forwarding.

Maintaining Your Server
Maintaining your Minecraft Server is vital for a smooth and enjoyable gaming experience. Here are some key practices to ensure your server remains in optimal condition:
- Regular Updates: Frequently update your server software to incorporate the latest features, bug fixes, and security patches. This includes Minecraft updates and any plugins or mods you may use.
- Scheduled Backups: Perform regular backups of your server data. This can save you from losing progress due to crashes, errors, or other unforeseen issues. Automated backup scripts can simplify this task.
- Performance Monitoring: Monitor your server’s performance by monitoring resource usage such as CPU, memory, and disk space. Use tools like htop and iotop to get a real-time view of system performance and address any bottlenecks promptly.
- Log Management: Regularly review server logs to identify any potential problems. Logs can provide valuable insights into connection errors, crashes, or resource overuse, helping you troubleshoot effectively.
- Community Feedback: Engage with your players and gather feedback on server performance and gameplay experience. They can often warn early about lag issues or bugs you might not notice immediately.
- Security Practices: Implement robust security measures, such as keeping your Ubuntu system updated, using strong passwords, and configuring a firewall. This helps protect your server from unauthorized access and potential attacks.
- Resource Allocation: Adjust resource allocation based on player activity. If you notice frequent lag during peak times, consider upgrading your hardware or optimizing server settings to handle the load better.
By incorporating these practices, you ensure your Minecraft Server on Ubuntu remains stable, secure, and enjoyable for all players.