
Websites in the current era face serious risks of cyberattacks with DDoS attacks being some of the most common. They are specifically focused on flooding a particular site to an extent that results in congestion and hence, various losses including revenue. Shielding your site from such attacks is paramount and to achieve that NGINX comes in handy.
This powerful web server and reverse proxy can come out handy in the protection against DDoS attacks with a lot of efficiency. In this particular blog post, we will dive deeper into what you can do to help secure your site using NGINX.
Understanding DDoS Attacks
A DDoS attack targets a server, service, or network with an overwhelming flood of Internet traffic, aiming to disrupt normal operations. These attacks normally employ several infected computer systems to generate attack traffic sources. The attackers want to dominate the target, to deny the target from any legitimate access.
DDoS attacks vary in complexity; some may be straightforward, involving a sheer volume of traffic, while others employ sophisticated techniques to bypass security measures. Du deals with this threat by defining what constitutes a DDoS attack for instance if there is a drastic change in volume or rate of traffic, the system should be considered under attack. Knowledge of these basics is crucial in the utilization of NGINX in the reduction of the effects of such attacks.

Why Use NGINX for DDoS Protection?
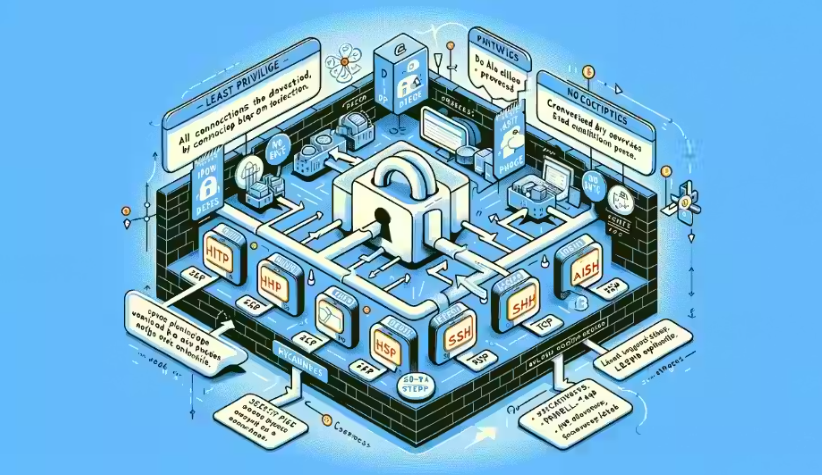
Hence, NGINX is well suitable for handling DDoS attacks because of its efficiency in handling huge traffic. It has a lightweight architecture and adheres to an event-driven model, which makes it able to handle many connections at once with a moderate server load. Further, request limiting is available in NGINX configuration which plays a central role in moderating the traffic flow and also keeps the notorious users from flooding the site with requests.
It also offers such as options like blocking IP and serving a cache of your site which helps keep your site up in case of an attack. By using these capabilities you would like to guarantee that only clean traffic gets through while the rest is filtered out. These functionalities make NGINX a very strategic tool and very reliable in handling multiple DDoS attacks.
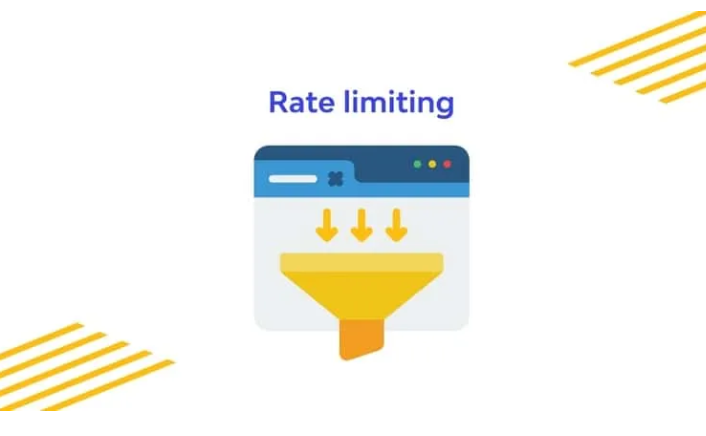
Setting Up Basic Rate Limiting
Rate limiting is a fundamental technique to curb DDoS attacks by controlling the number of requests a user can make in a given timeframe. With NGINX, setting up basic rate limiting is straightforward. You can use the `limit_req_zone` directive to define a zone that stores request data and set the `limit_req` directive within a server block to specify the rate limit.
For instance, limiting requests to 10 per second can help prevent an attacker from overwhelming your site with excessive traffic. Adjusting these limits based on normal user behavior ensures legitimate users aren’t affected.
To start, define a shared memory zone to store request data using the `limit_req_zone` directive in the HTTP context of your NGINX configuration file:
limit_req_zone $binary_remote_addr zone=myzone:10m rate=10r/s;
In this example, `myzone` is the name of the shared memory zone, allocated with 10 megabytes of space, and `10r/s` sets the rate limit to 10 requests per second.
Next, within your server block, use the `limit_req` directive to apply the rate limiting:
location / {
limit_req zone=myzone burst=20;
The `burst` parameter allows a temporary surge of requests, adding flexibility to handle brief traffic spikes. When these configurations are used in combination you can greatly reduce the chances of the system being subjected to a DDoS attack whilst ensuring legitimate users are allowed to gain access to the services provided.
Implementing Advanced Rate Limiting
Advanced rate limiting in NGINX provides more precise control over traffic management, essential for handling varying traffic patterns. You can configure burst limits to allow short-term traffic surges beyond the regular rate limit without blocking those requests immediately.
This feature is especially useful for managing legitimate traffic spikes that occur during peak times. Additionally, the `nodelay` parameter can be employed to ensure that requests exceeding the rate limit are processed without delay, maintaining user experience even under high load conditions.
With these advanced rate limiting features in play, the user has the choice yet more closely align his defensive strategies to the traffic type of the site in question therefore affording a better, more comprehensive solution to effectively managing the DDoS attacks.
Configuring Connection Limits
Managing the number of concurrent connections is a critical strategy for mitigating DDoS attacks. NGINX offers the `limit_conn_zone` and `limit_conn` directives to restrict simultaneous connections from a single IP address, thereby preventing resource exhaustion by malicious actors. This is particularly effective against slow loris-type attacks, which keep multiple connections open for extended periods to degrade server performance.
To set up connection limits, define a shared memory zone for storing connection data using the `limit_conn_zone` directive. For example, you might use the following configuration in the HTTP context of your NGINX configuration file:
limit_conn_zone $binary_remote_addr zone=addr:10m;
In this example, `addr` is the name of the shared memory zone, allocated with 10 megabytes of space to store connection data.
Next, apply the connection limits within your server block using the `limit_conn` directive:
location / {
limit_conn addr 10;
This configuration limits the number of simultaneous connections from a single IP address to 10, helping to mitigate DDoS attacks by ensuring no single user can monopolize server resources. Adjust the connection limit based on your site’s traffic patterns and requirements to balance security with user experience.
Furthermore, correlated with connection limitations, rate-limiting, and IP blocking improve the site stability against different types of DDoS attacks. If adjusted appropriately, these parameters will help you improve security around your server while at the same time providing services to the right individuals.
Leveraging NGINX with Fail2Ban
After reading this post, you should understand how much weight Fail2Ban is and learn that you can use it to strengthen your site protection against DDoS when it is linked to NGINX. It operates by scanning the log files for a pattern of such activity and then changing the firewall rule base in real time to exclude the IP host. To integrate Fail2Ban with NGINX, you’ll first need to install Fail2Ban on your server.
Next, configure Fail2Ban to monitor your NGINX access logs. This is done by creating a custom filter file for NGINX within the Fail2Ban configuration directory. The filter will define the patterns that indicate suspicious activity, such as repeated failed login attempts or an unusually high number of requests from a single IP address. Here’s an example of a basic filter configuration:
failregex = ^ -.*”(GET|POST).*HTTP.*” 403
After defining the filter, create a jail configuration file to apply the filter and set the ban rules. A simple jail configuration for NGINX might look like this:
enabled = true
filter = nginx-auth
action = iptables[name=HTTP, port=http, protocol=tcp]
logpath = /var/log/nginx/access.log
bantime = 3600
findtime = 600
maxretry = 5
In this example, the `bantime` parameter specifies how long an IP address will be banned, while the `maxretry` parameter sets the number of allowed failures before banning the IP.
By leveraging Fail2Ban alongside NGINX, you can automatically block malicious traffic, significantly enhancing your site’s resilience against DDoS attacks and other types of cyber threats.
Enabling Cache and Buffering
Enabling cache and buffering in NGINX can drastically reduce the strain on your server during a DDoS attack. By caching static content, such as images, scripts, and stylesheets, NGINX can serve these resources directly from its cache instead of making repeated requests to the backend server. This not only conserves server resources but also enhances site performance. Additionally, employing buffering for incoming requests helps manage high-traffic loads more efficiently.
To enable caching, use the `proxy_cache_path` directive to define the cache location and parameters. For example:
proxy_cache_path /path/to/cache levels=1:2 keys_zone=my_cache:10m inactive=60m;
This configuration sets up a cache with 10 megabytes of space, with cached content that remains inactive for 60 minutes. Next, apply the cache to specific locations using the `proxy_cache` directive:
location / {
Buffering can be configured using directives like `proxy_buffer_size` and `proxy_buffers`. For instance:
proxy_buffers 4 32k;
This setup allocates buffers to handle the incoming data, ensuring smoother traffic management. Adjust these settings based on your site’s traffic patterns and content types to optimize performance. By combining caching and buffering techniques, NGINX can effectively distribute the load, helping maintain service availability during peak times and mitigating the impact of DDoS attacks.
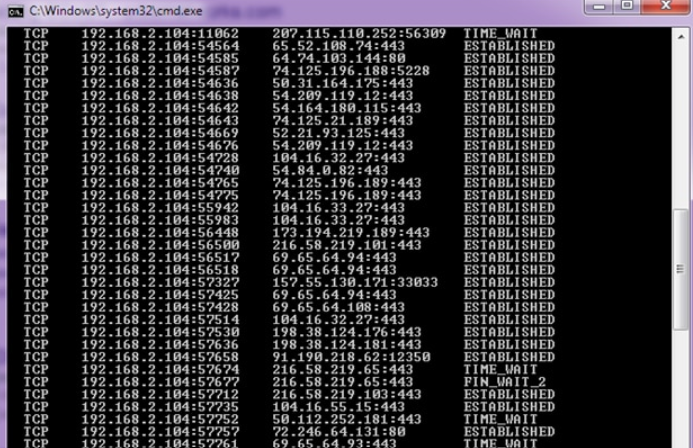
Monitoring and Logging for DDoS Detection
Effective monitoring and logging are essential for identifying and mitigating DDoS attacks in real time. NGINX’s robust logging capabilities enable you to capture detailed information about incoming requests, making it easier to spot unusual patterns that could indicate an attack. For example, by tracking metrics such as the frequency of requests from individual IP addresses, the types of requests being made, and the timing of these requests, you can quickly identify potential threats.
Start by enabling detailed access logs in your NGINX configuration file. Use the `log_format` directive to customize the information captured in your logs. For instance, a log format that includes request time, client IP, request URI, and status code can provide valuable insights:
log_format custom ‘$remote_addr – $remote_user [$time_local] “$request” ‘
‘$status $body_bytes_sent “$http_referer” ‘
access_log /var/log/nginx/access.log custom;
Next, set up monitoring tools to analyze these logs in real time. Tools like the Elastic Stack (ELK), which includes Elasticsearch, Logstash, and Kibana, can be integrated with NGINX to provide real-time visualization and alerting. By configuring alerts based on specific thresholds or anomalies in traffic patterns, you can respond promptly to potential DDoS attacks.
Additionally, automated scripts can be employed to parse logs and trigger defensive actions, such as rate limiting or blocking suspicious IPs, enhancing your site’s proactive defenses. Regularly reviewing logs and adjusting your monitoring criteria ensures that your DDoS detection mechanisms remain effective against evolving threats.
Logging options are NGINX’s most undervalued and least used features, but by incorporating them with superior monitoring systems, you can develop a DDoS flowchart and guarantee your website’s stability and availability.