Transferring a domain can seem daunting, but it doesn’t have to be. Whether you’re moving your website to a new registrar for better pricing, improved service, or simply a change of pace, understanding the domain transfer process is crucial. In this detailed tutorial, we will walk you through the essential steps to make your domain transfer smooth and hassle-free.
Understanding Domain Transfer and Its Importance
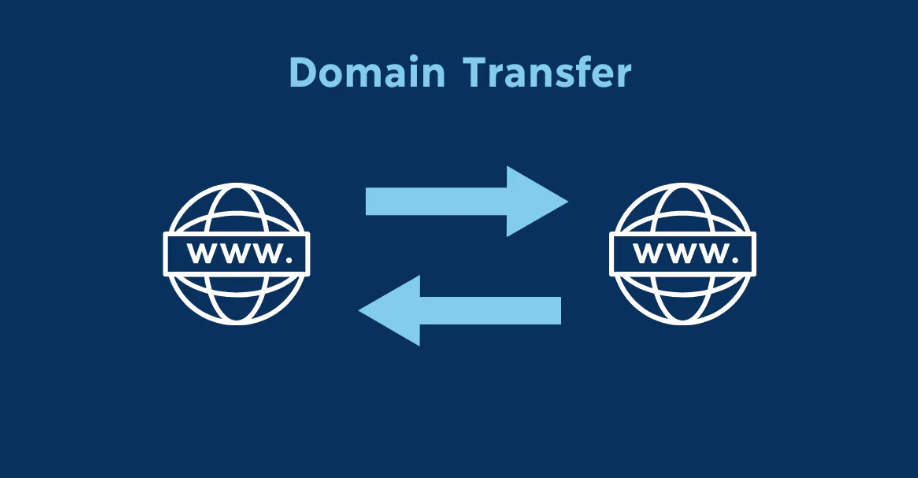
Domain transfer is the relocation of the domain name from one registrar to another, a move that can be triggered by better customer service, prices, or facilities. It is essential, nonetheless, to appreciate that this procedure solely concerns the transfer of management of your domain from one party to another and is not in any way associated with the content of your website.
This means that the switching of a domain registrar can give you some of the features your current registrar may not offer such as better security features, better domain management solutions, or even better complementary services such as email hosting. At other times, the reason to transfer a domain may be poor service or high renewal charges, which your current registrar offers.
Realizing the significance of a domain transfer is predicated on the view that it can help you regain and retain superior control over assets in the Internet domain. Your domain name is your identifier on the Internet, as well as the address you have for your website. When it comes to these tasks, if this asset is well managed and utilized, then better site performance, user experience, and even added security measures are the outcome.
Also, it is possible to exclude probable issues and tough patterns, for example, domain locking or administrative prohibitions that help facilitate the domain transfer, knowing all the details of the latter. The more informed you are about the transfer, the better equipped you will be to make decisions that positively impact your online business or personal site.

Preparing Your Domain for Transfer
Before you can initiate a domain transfer, there are several preparatory steps to ensure a smooth process. Begin by verifying that your domain is eligible for transfer; most registrars impose a 60-day lock period after the domain’s registration or a previous transfer, so you’ll need to check the registration date. The next step is to turn off any privacy protection services, as the registrant details must be visible to facilitate the transfer. Also, ensure your domain is unlocked, as locked domains are not transferable.
After these preliminary steps, you’ll need to obtain the authorization code (also known as the EPP code) from your current registrar. This unique code is a security measure to verify your identity and approve the transfer. You may find this code in your registrar’s account dashboard, or you might need to request it via their customer support.
It is also wise to check if your email address and phone number linked to the domain are correct and easily reachable. That way, you will receive all the necessary notifications and instructions during the transfer process. This approach enables you to achieve a seamless transfer of the domain, thereby reducing any adverse incidences or breakdowns.
Choosing the Right Registrar for Your Domain
Selecting the right registrar is pivotal for ensuring a smooth domain transfer experience. Since there are many registrars in existence, it is now important to pay attention to some fundamental areas that could be of importance depending on your interests. First, it is necessary to analyze the essential pricing systems. While selecting the registrar, ensure that you go for the one with reasonable initial charges though some registrars charge higher initial charges but tend to charge higher prices once the domain has been registered.
Another parameter, that must be taken into account by the companies, is the relationship with the customers. Secondly, you should focus on the registrar’s support, and you should look for companies that provide customers with round-the-clock support and companies that allow you to contact their support team via live chat, phone, and email. You might also want to know more about other features which can be included. Some familiar service packages such as Web hosting, email hosting, and SSL certificates come with the registrars and can prove economical.
Other important information that may be found in users’ reviews include the accuracy, reliability, and performance of the registrar. Listen to customers’ sentiments on how they see their domain management tools and interfaces since ease of use could save time. Security features should also be included as well. Ensure that the registrar has sufficient security features like username and password, Google authentication, and domain privacy guard, amongst others, to protect your domain.
To make a wise decision, you need to take your time and research and compare registrars using these factors to enjoy an improved online experience in the future.
Initiating the Domain Transfer Process
Once you’ve prepared your domain and chosen a new registrar, it’s time to initiate the transfer process. Begin by logging into your new registrar’s account and navigating to the domain transfer option. Enter your domain name and the authorization code you obtained from your current registrar. After submitting the transfer request, you’ll receive a confirmation email from your old and new registrars. These emails contain crucial instructions for approving the transfer request.
Ensure you promptly follow the instructions in the confirmation emails, as the transfer will only proceed with your approval. Most registrars provide a straightforward link or button to confirm the transfer. Once approved, the new registrar will handle the process from there. Be prepared for the transfer to take anywhere from a few hours to several days, depending on the policies of the involved registrars.
Throughout the process, you can monitor the status of your transfer through your new registrar’s account dashboard. Regularly check for any additional emails or notifications that may require further action. If you encounter any issues, don’t hesitate to contact customer support from either registrar for assistance. Ensuring all steps are completed accurately will help facilitate a smooth and timely transfer.
Common Issues and How to Resolve Them
Transferring a domain can sometimes come with unexpected challenges. One common issue is the non-receipt of confirmation emails. Make sure the email address linked to your domain is current and that you’ve checked your spam folder. If the email has not arrived, you may need to contact customer support for further assistance.
Another frequent problem is domain locking. If your domain is closed, the transfer cannot proceed. Double-check your domain’s status and ensure it is unlocked before you begin the transfer. Occasionally, the authorization code (EPP code) might need to be corrected or updated. If you encounter this, request a new code from your current registrar and update it in your transfer request.
In some instances, domain privacy protection can hinder the transfer process. If the registrant details are hidden, the transfer might fail. Ensure privacy protection is turned off before initiating the transfer and re-enable afterward.
Additionally, DNS settings can cause issues post-transfer. If your DNS records are not correctly transferred, your website might experience downtime. Verify all settings once the transfer is complete to ensure your site remains accessible.
Proactively addressing these potential issues can smooth out the domain transfer process and avoid unnecessary disruptions.
Verifying and Completing the Transfer
Once the transfer process is initiated, it’s essential to monitor the progress closely to ensure everything proceeds smoothly. Throughout this period, your new registrar’s account dashboard will provide updates on the status of your transfer. Keep an eye on any notifications or emails from your old and new registrars, as these may require additional action.
When the transfer is finalized, you’ll receive a notification confirming the successful transfer of your domain. At this point, log into your new registrar’s account and verify that your domain is listed correctly. Ensure all essential settings, including DNS records and privacy settings, have been transferred accurately. This step is crucial to avoid any disruptions to your website’s functionality.
If your DNS settings have not been transferred correctly, you may experience website downtime. To prevent this, double-check all configurations and make any necessary adjustments promptly. If you had specific email forwarding rules or other custom settings with your previous registrar, ensure these are correctly set up with your new registrar.
Ensure you go through these details thoroughly to ensure that your domain integrates with your new registrar without any hitches; your website’s functionality and uptime will remain unaffected.
Post-Transfer Checklist for Your Domain
After successfully transferring your domain, a few crucial tasks remain to ensure everything continues to run smoothly. To prevent website downtime, begin by verifying that your DNS records accurately point to your hosting provider. Review and set up any email forwarding or other custom features you had with your previous registrar to maintain seamless communication.
Re-enable privacy protection if disabled during the transfer to safeguard your personal information. It is also advisable to review your contact information to ensure you have the correct details properly since timely updates of more information are always crucial in receiving essential notifications relating to your specific domain.
Finally, create reminders for all your domains to avoid expiration, which can lead to account penalties. Some registrars have auto-renewal features that can be very useful in that you do not have to keep renewing the domain manually. These steps will assist you in achieving orderly control and balance after the transfer of your Social Media Accounts.